Pictured above are some of the tools Jill and I plan to use for our binaural recording project. At the top right hand corner you will find a roll of mechanics wire – scavenged from the bottom of my tool bag, a relic from 1st year sculpture class. You’ll see below that we have used this wire in order to make a contraption to fasten the microphones to ears. Bottom left is a pair of pliers, used previously to shape aforementioned sculpture projects: now a little creaky with age. These are for cutting, shaping and fitting the wire contraption. Top left, you will see a roll of surgical tape, equipped with kind adhesive, handy for attaching microphone wires to skin without later giving the wearer a bald strip.
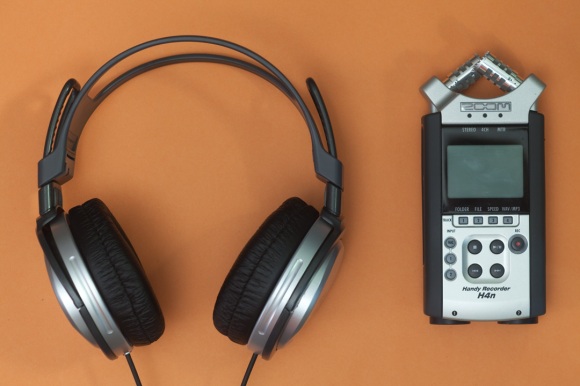
We will be using a zoom H4n recorder as it is light and portable, and once secured onto whomever is the subject, will allow for enough agility while reducing risk of self-generated noise (in comparison with the 702, which is a little more burly and perhaps not as politely discreet). The pair of closed headphones are helpful when setting up the zoom, but I imagine they would become cumbersome quite quickly if worn during recording, and would probably develop into an impromptu game of skipping rope between listener and donner of recording device. If you’re trying this out, I strongly advise against wearing both the microphones AND the headphones, unless feedback tickles you. So once you have everything set up, tuck the headphones in your belt until playback.
Featured above is a selection of parts from a fantastic lavalier microphone kit (very generously lent to us by Greg Boa). It’s my understanding that these omnidirectional microphones are most effective when trying to produce a binaural result. They are also tiny enough to fit snugly inside the (external) ear, as will be shown in later pictures. The smaller windsocks are slightly more dignifying, but if in public, the larger versions make strangers suffer from so much second-hand embarrassment that they look away, cross the street, or even screech to a halt before scurrying back from whence they came, leaving you to roam in freedom. The two circular pieces on the far right are magnets, used to clip the microphones onto the wire contraption (see below). Organizing the magnets for the photo was a challenge since, naturally, they refused to sit very close to one-another.


[…] Binaural Binge […]